Been a while since I last wrote. Not much has been going on in my studio costume wise. Though things will hopefully be picking up. I’ve started on a new project that originally was supposed to be a mock-up for my next big build, but this has taken on a life of its own. I am once again building the entire thing on a people powered machines. There is some gathering I need to do and some zig zag stitching to finish off the raw edges. And now I have a machine that can be treadled that will do that! I acquired a Singer 306J. I still need to make a new table for it but that is a summer project for my father and I.
I took my 1927 Jones Handcrank with me on a short vacation and used it to piece together the top of the dress I am working on. I ended up talking more about antique sewing machines to people intrigued by my machine than I actually got to sew. But I did learn a new trick with sewing darts with using only one thread and not a chain stitch.
So I thought I would give a tutorial on how to do this, my first tutorial yeah!
First off: wind your bobbin with the color of thread you are going to want. You will need to wind it with way more thread than you normally would for the project at hand.
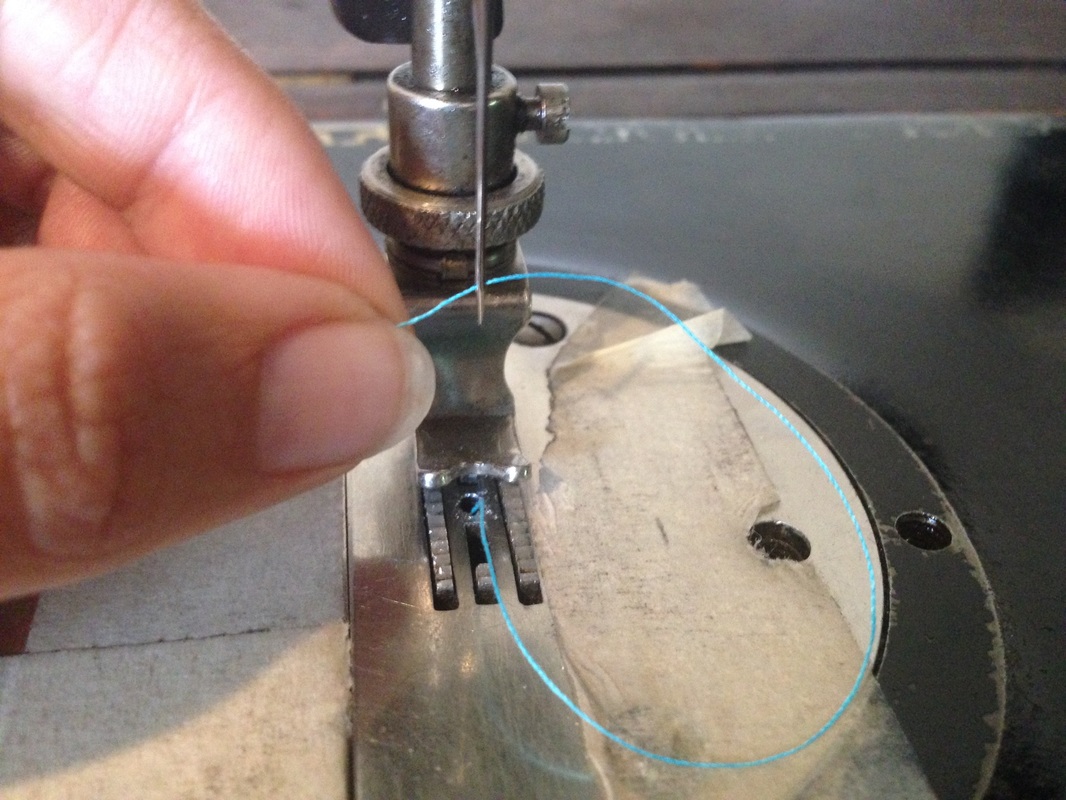
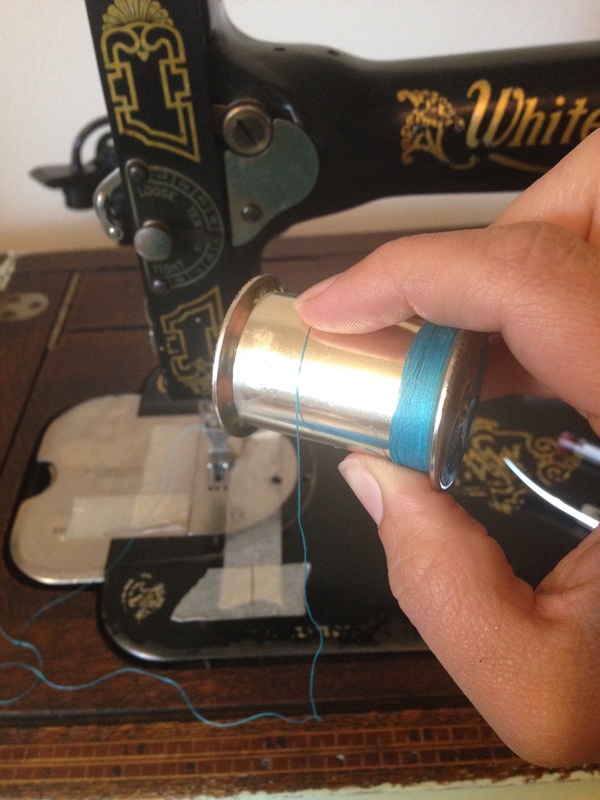
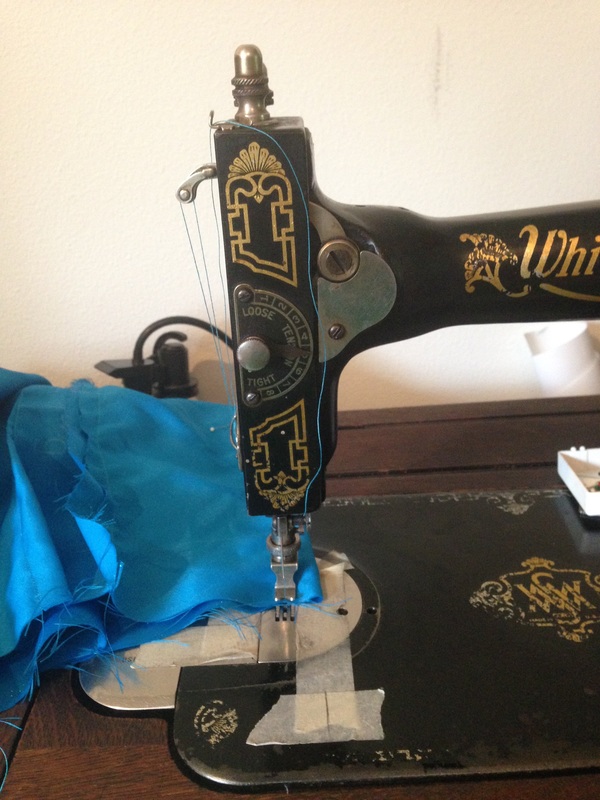
Next you are going to reverse thread your machine. Bring the thread up from the bobbin, through the needle and so forth, I have seen suggestions of leaving your sewing machine threaded like normal and then tying the bobbin thread to your spool thread and pull it back up through the machine to your spool. I haven’t tried that technique because I find revers threading to work just fine.
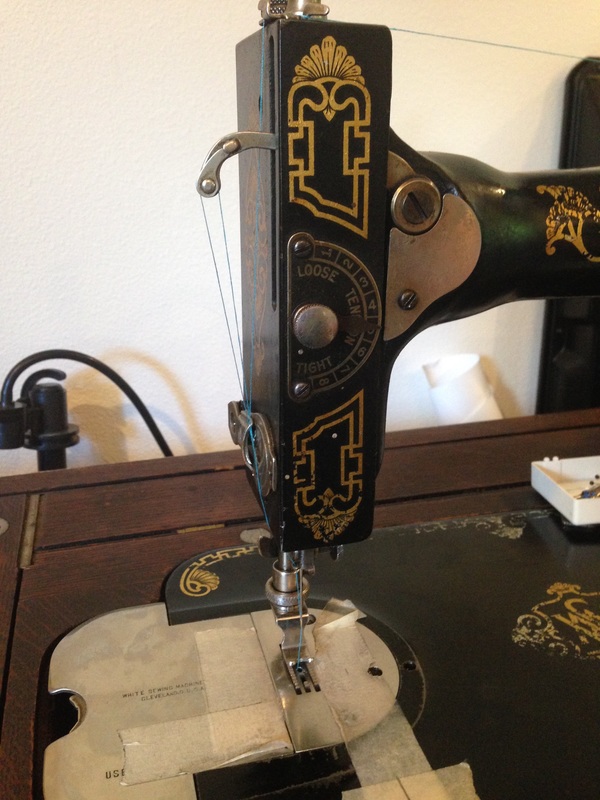
At this point it is always useful to have an empty spool. When you finish reverse threading your machine you will need to hand wind that empty spool with just a little more thread than you think you will need to sew your dart. Do not wind too much extra because this will just be a wasted, if you do not wind enough then your will run out of thread before you finish your dart. Rule of thumb is about 2X the length of your dart is how much thread you will need on your spool.
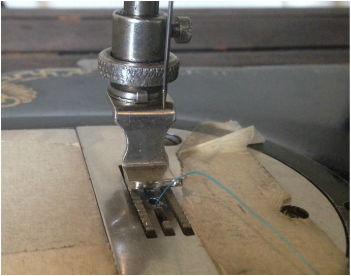
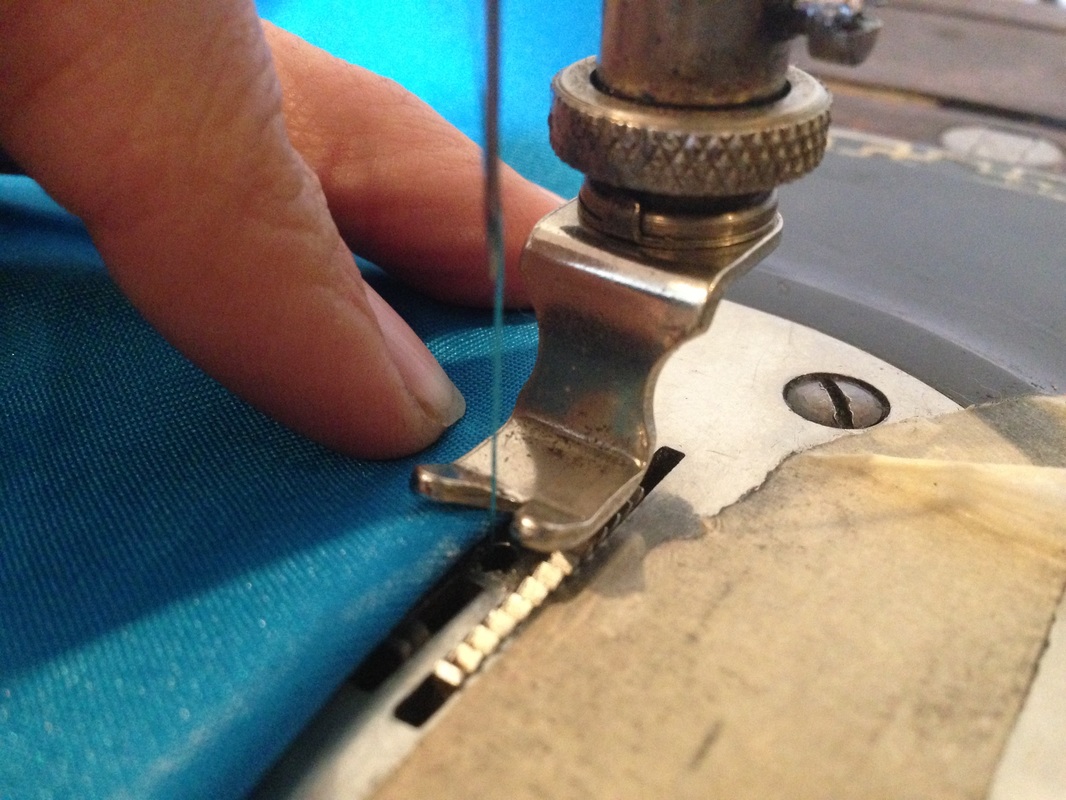
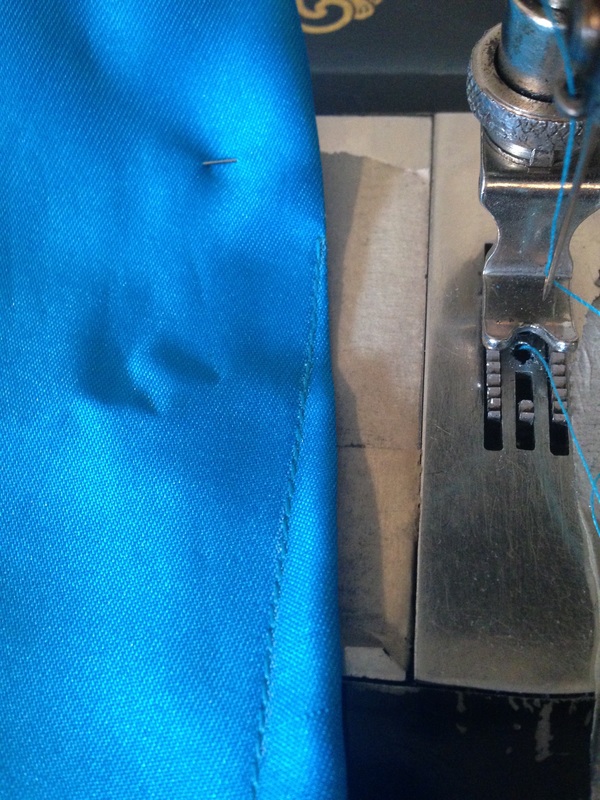
Once the machine is threaded make sure your needle is at it’s highest, lift the presser foot, and starting at the apex of the dart, line up your sewing line. Now this is important, before you make your first stitch lay your fabric on the bed of the machine so that it is touching the thread coming up from your bobbin; touching but not pressing. If the thread is being pressed into your fabric it will create a pucker at the apex of your dart.
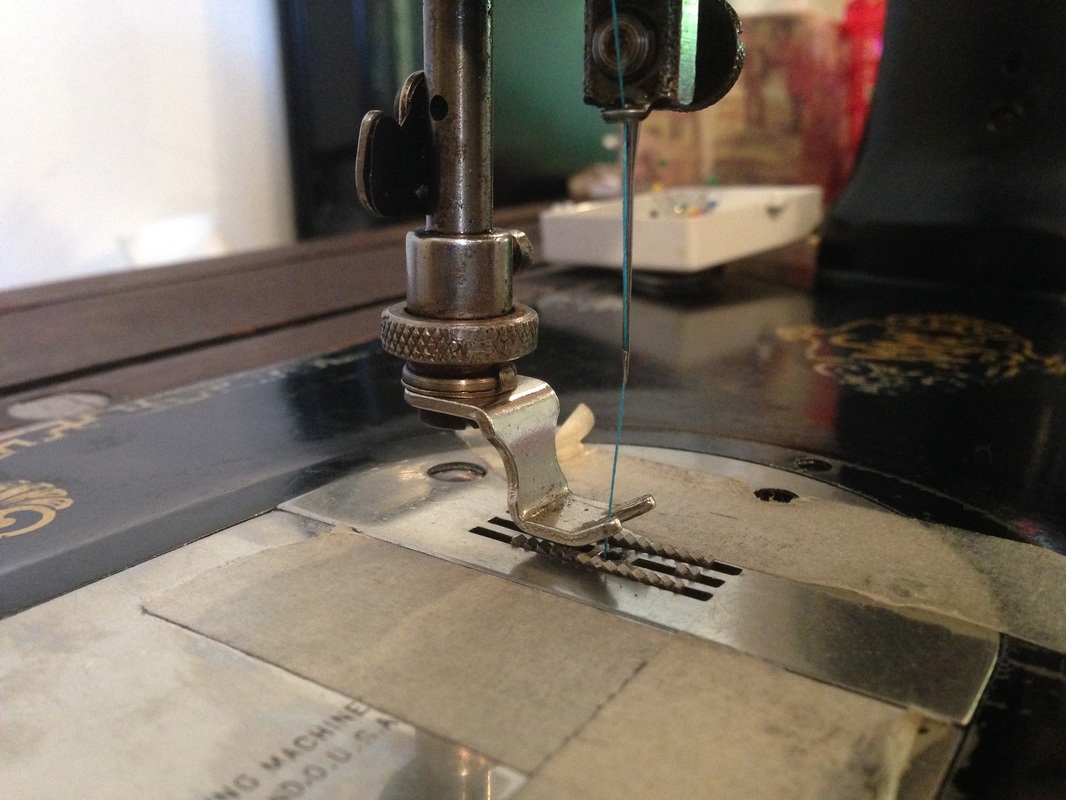
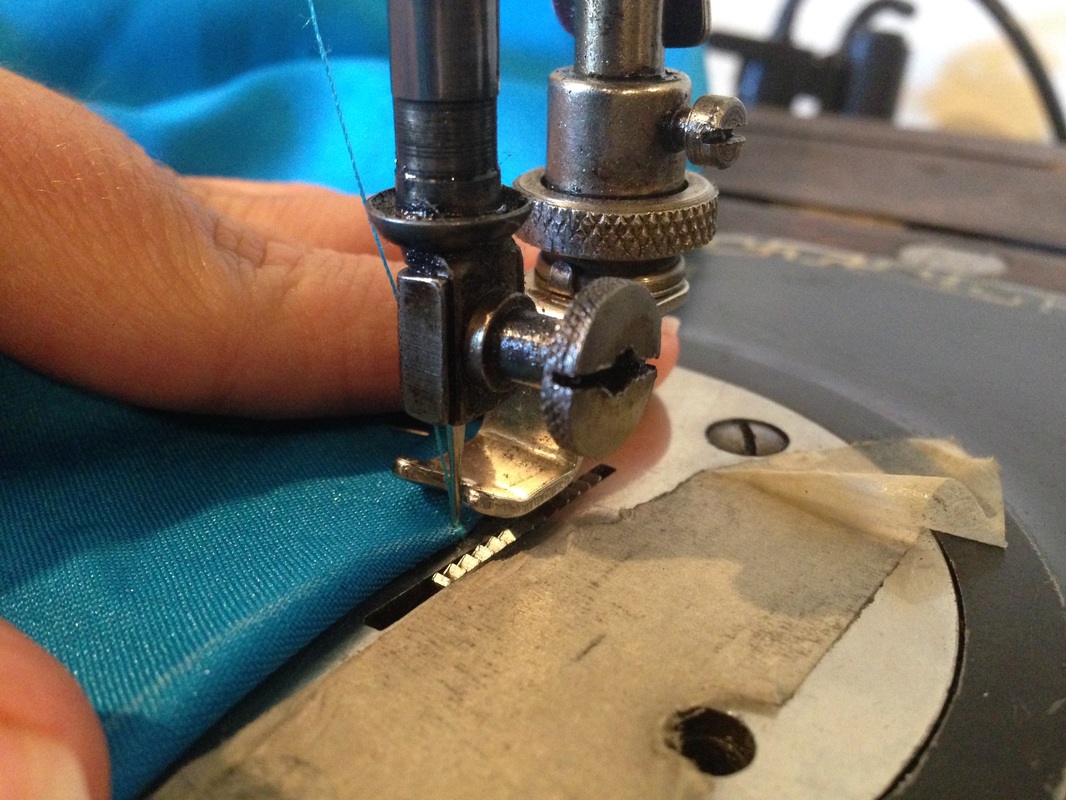
At this point I manually turn the hand wheel until my needle is in the fabric but has not started to come back up, then drop your presser foot and sew your dart.
At this point I manually turn the hand wheel until my needle is in the fabric but has not started to come back up, then drop your presser foot and sew your dart.
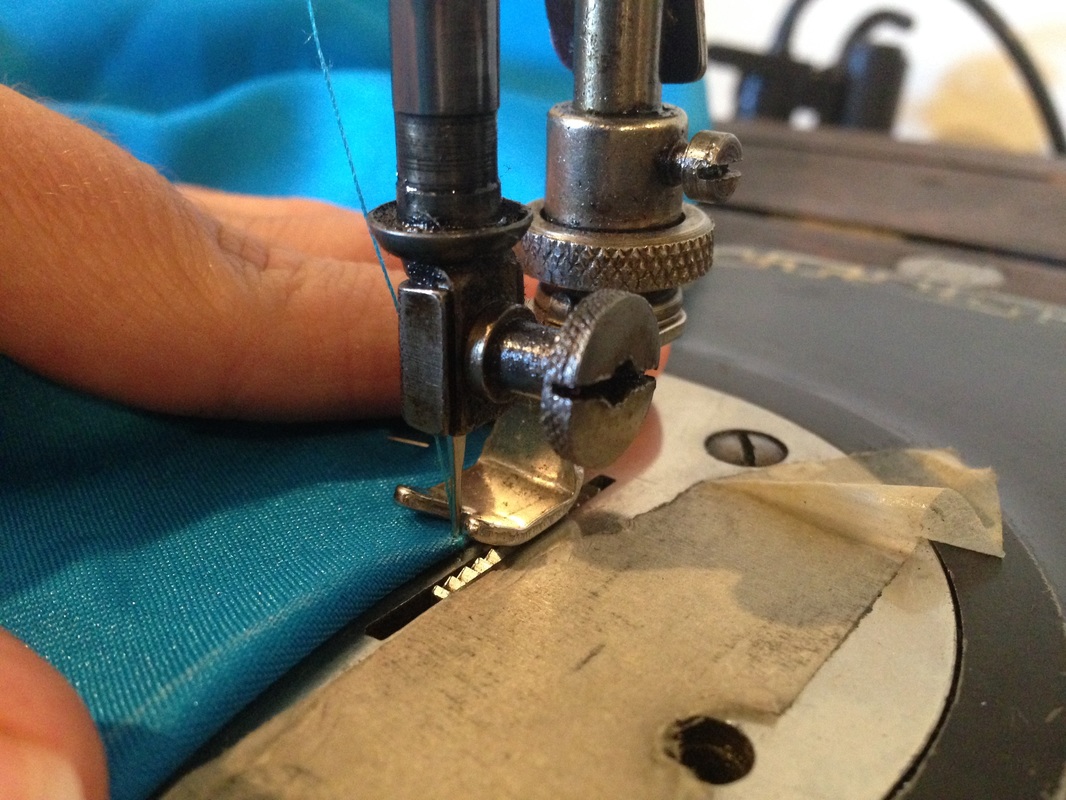
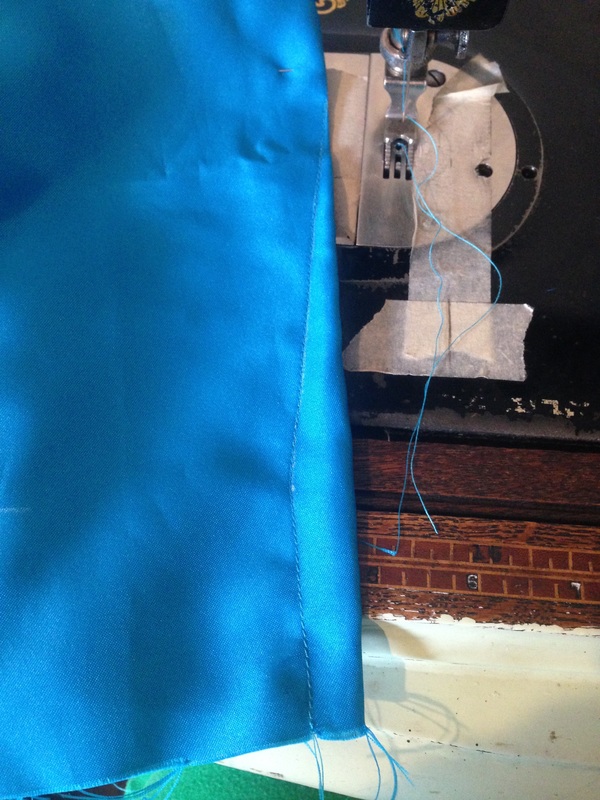
If you have wound the correct amount of thread onto your spool, you should have no more than this much thread left.
If you have multiple darts to sew you will have to reverse thread your machine each time, but honestly I think it is worth the effort. This method has made perfect darts each time and is wonderful if you are working with very fine fabrics that you want to avoid extra bulk.
There you have it, my first tutorial.
There you have it, my first tutorial.
 RSS Feed
